Showing posts with label macro. Show all posts

Tuesday, 2 July 2013

Macro tutorial: The Lost World


Today, I went out to shoot some dinosaurs for my forthcoming book, Photo Fun. In the book, I have a chapter about photographing monsters. The chapter is shaping up quite nicely. There is only one section left to write, about what to do if you live in a monster deprived environment.

The solution is quite simple: Go to a toy store, or raid your children's toy collection, and grab the most realistic looking toy monsters you can get hold of. My son, Tim, has an interesting collection of creatures from the dawn of time and the farthest reaches of space. Finding monsters to shoot is not a problem.

Most of the chapter in the book is about finding and shooting full scale monsters, but for toy creatures, a macro lens is the way to go. I used a Canon 60D DSLR with a Tamron 60mm 2.0 lens. Most pocket cameras will have a macro mode that is quite sufficient. A camera phone will also do in a pinch.


When shooting toys, background and lighting will make or break your photos. I went to a park and found some ferns and low bushes I could use as background, and set up the dinosaurs.

I used a remote controlled flash with a CTO gel to warm the light, and a speed grid to shape the light into a tight beam. I wanted the dinosaurs to be lit, and the background to be as dark as possible.

Before shooting, I set my camera to manual, 1/250s, f18. I took a test shot, which was all black. This meant I had eliminated ambient light.

I then took a few test shots, with flash, and adjusted my camera settings until the pictures came out the way I wanted them.

In the shot above, both dinosaurs look a bit plastic. This is because I shot them on the side lit by the flash. You have the same phenomenon in portrait photography. Most of the time, you should avoid shooting the side of a face, or monster, that is lit by the flash.


This picture looks more realistic. You can see how the flash lights the side of the dinosaurs opposite from the side I photographed.

You will need to experiment with shutter time and aperture to control ambient light. If you use a speed grid on your flash, you have to aim it very carefully. It is easy to miss the models altogether.

I won't go into details about post processing in this post, except one thing: On dinosaur models like these, the nostrils are dead giveaways. They are not deep enough to look realistic. Because of this, I have shaded them with Aperture's Burn tool. You can do the same thing in Adobe Lightroom, or whatever program you use to post process your images.

Finally, if you do something like this, bring your children in on it if they are interested. After all, it's their toys.

If you liked this tutorial, you may also enjoy my tutorial about photographing full size animatronic dinosaurs.

Friday, 21 June 2013

Macro photography with handheld camera and flash


When you start out with macro photography, there are two problems that can easily get annoying.

The first problem is getting a decent depth of field. The more your lens magnifies a subject, the more narrow the depth of field will be. That means you want to shoot at the smallest aperture you can.

The other problem is motion blur. Both the camera and the subject might move. Because you are photographing small subjects, even very small movements will blur the picture noticeably. That means you will want the shortest shutter times you can get.

The combination of small aperture and short shutter time, means you need a lot of light. The easy answer to getting a lot of light is flash.

Using a flash adds its own set of problems. You can see where this is going: The chief cause of problems is solutions! However, we aren't looking for perfect solutions. If we did, we'd spiral down into solution hell. Rather, we are looking for problems we can live with.

What are the problems with flash? The ones we have to deal with. There are two. The first is that we need to direct the light to where it does some good. As long as we are shooting hand held, the easiest way to do that, is to take the flash off the camera, and hold it in your hand. You can use a cable, or a remote controller. I use a remote controller. It's handy for many things besides macro photography.

The second problem is that when we add flash, we suddenly have to deal with two, very different types of light sources. A flash unit provides a strong, very short pulse of light. We also have ambient light, the light we normally have all around us.

When we take a picture using flash, we will get two different exposures from those two sources. The flash pulse is very short, maybe 1/5000s, or even shorter. This means, if the flash was the only light source, the resulting image will have no perceptible motion blur. We might not freeze a speeding bullet with an ordinary flash, but we can eliminate camera shake and stop the motion of an insect. No problem.

Ambient light is another matter. The ambient light will not be strong enough to give us the short exposure time and small aperture we want. On the other hand, it may be strong enough to cause a blurry image. Not good.

If the ambient light is mostly a source of problems, what if we can get rid of it? We know the ambient light will affect the exposure as long as the shutter is open. We also know the wider the aperture (the smaller the f-number), the more ambient light we will get.

Thus, if we use a short exposure time, and a small aperture, we'll get rid of as much of the ambient light as possible. We can't use shorter times than the flash sync can handle, which usually is 1/250s. Small aperture means high f-number, so we'd like to shoot around f18 to f22. Great news, because this gives us the wide depth of field we also want.

Yay!

By now you should not be surprised if I tell you I shot the fly above at 1/250s, f18, ISO 100. I used a Tamron 60mm 2.0 macro lens and a Canon 60D. The flash pulse is so short it is not affected at all by the shutter time, but a lot of the ambient light is cut. This eliminates camera shake and motion blur. 


Bumblebee at at 1/250s, f22, ISO 200. This is the only one of the pictures taken with the flash mounted on the camera. This means I had to work at a slightly greater distance from the subject. Afterwards, I cropped the picture a bit tighter than I usually do.


Fly at at 1/250s, f18, ISO 200.

I should mention that you will need to do some post processing, because straight out of the camera, pictures like these often look rather dark. I usually crop the pictures, increase exposure, edge sharpen, increase definition, and sometimes increase saturation. I often add a bit of vignetting to darken the corners.


Ants at at 1/250s, f18, ISO 100.

All of these pictures were taken the same day, during two walks. And, all of the pictures were taken in flower beds. All you need is a DSLR with a macro lens, a flash, and a cable or remote control unit.

Best of all, I had fun doing it!

Monday, 3 June 2013

Setting up the scene for a macro shot


I found this snail slithering along on some dirt in a flower bed. I tried taking a few pictures right there, but there were two problems: The background was too close in color to the snail, and it was too dark. I could not shoot with a large enough aperture to get the entire snail sharp.

The fix was easy, I put the snail on an old leaf, and moved it to a lawn where it was a bit brighter.
 When I put the leaf with the snail down on the lawn, I placed the leaf so that the grass held it up from the ground a few centimeters. This allowed me to place the camera as low as the snail, which gave me a great angle for the shot.

Saturday, 1 June 2013

A stroll through the woods

I shot this woodlouse as close to crustacean eye level as possible. Normally, you want depth-of-field to be as deep as possible, but I shot this one at f2.0. This enabled me to shoot at 1/200s and ISO 125. As it turned out, the narrow depth of field turned out to be a good thing
I took a stroll through the woods and fields of Jonsered today. I brought my camera of course, and my Tamron 60 mm macro. On a sunny day, that's all you need to get some pretty good macro shots.

Here is a simple recipe for shooting insects woodlice, and other small creatures: Get down really low! Be prepared to crawl on the ground.

The reason is that we normally see these creatures from above. If we shoot them from above with a camera, we'll get the same, view we have seen so many times before, and that is boring.


The same advice holds for flowers: Get down low, and in close.

Flower shots are so common that they have lost a little bit of their attraction. It is quite easy to step up the attraction though:

Add something you do not see in most other flower shots. Something that can catch the interest of the viewer.

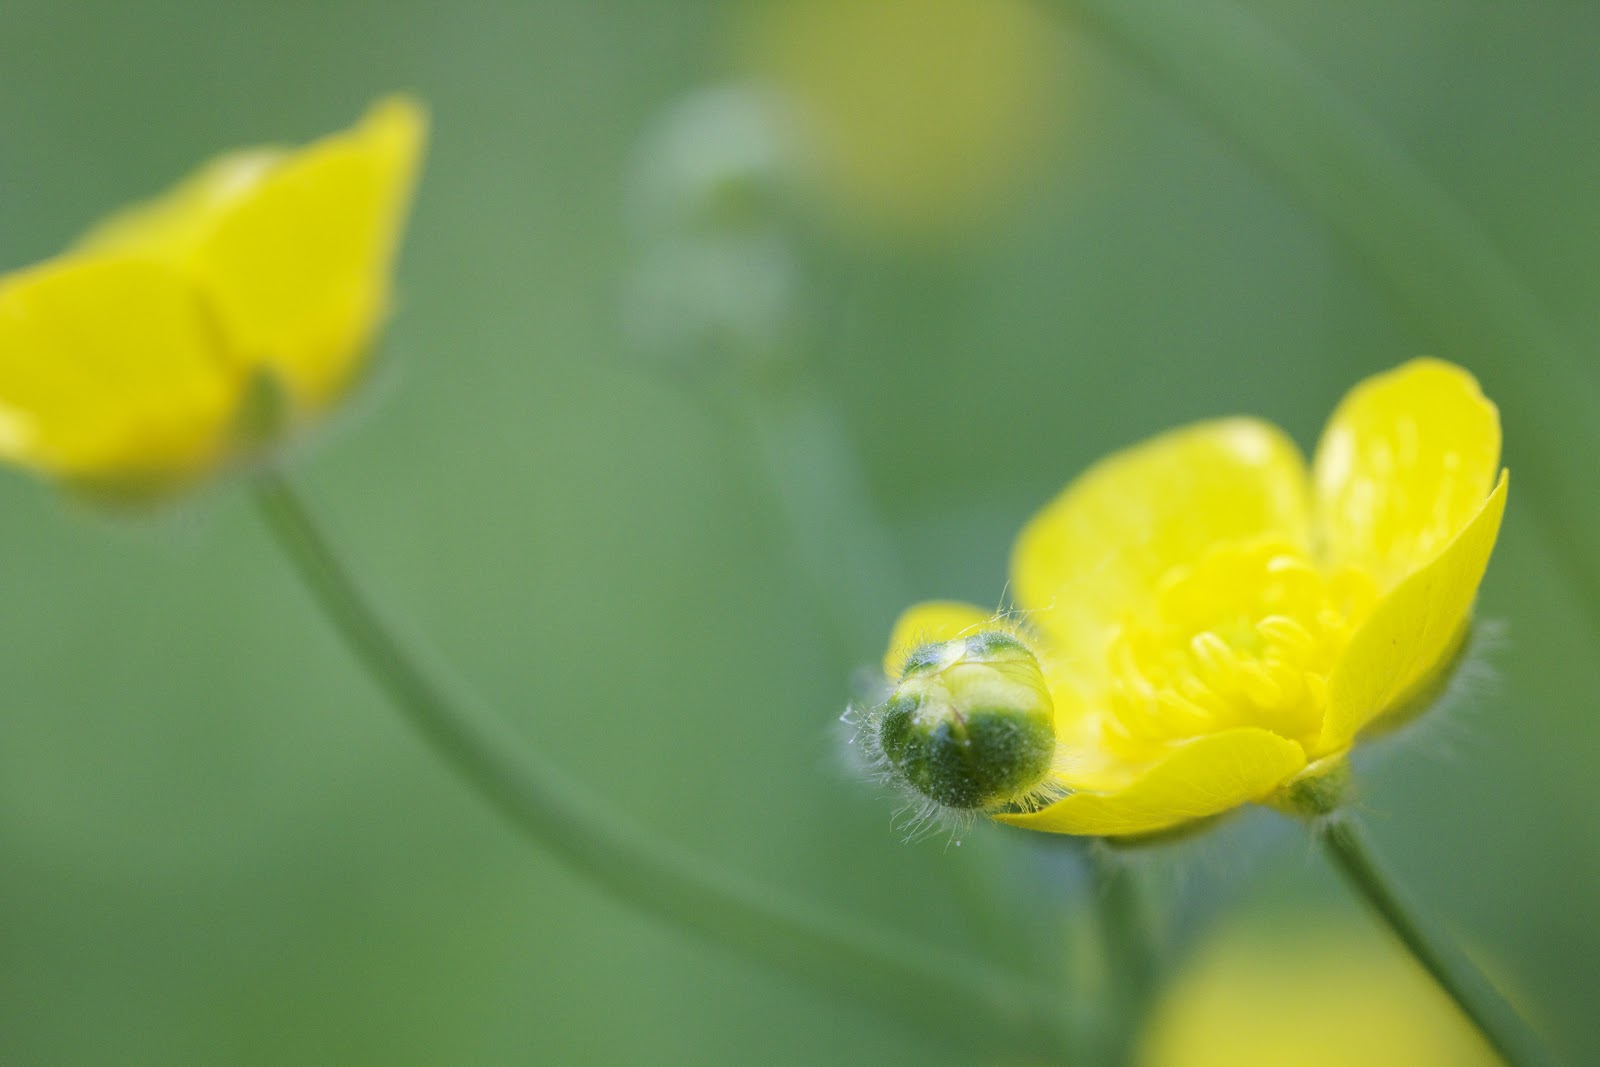
While looking about for a flower to shoot, there was one that drew my attention. Its shape was a little bit different from the others. It turned out it was just a flower and a bud touching each other, but it was enough to set them apart from the other flowers i saw.

Walking for about an hour gave me about a dozen good shots, but I'll show only these two. One or two of the others might make it into future blog posts.

See you.

Wednesday, 8 May 2013

Depth of Field tutorial

Depth-of-field: The birds are outside, in, and inside the depth of field. This picture was shot at 1/2500s. f/5.6, 135mm, ISO 600.
This tutorial will show how to work with the depth of field: The zone where an object looks sharp to the human eye.

By controlling the depth of field you can separate the object you want viewers to focus on by deliberately blurring other objects. You do this by putting them inside or outside your depth of field.


The depth of field depends on several factors:

  • The aperture (f-number) you are shooting at. Small f-numbers mean you get a shallow depth of field. Large f-numbers mean a wider depth of field.
  • The focal length of your lens. The longer your lens, the more narrow the depth of field will get at short distances. Thus, a 35mm lens will give you a wider depth of field than a 200 mm lens, if everything else is equal.
  • The size of the image sensor in your camera. The larger the sensor, the narrower the depth of field for a given aperture. I shoot with a Canon 60D. The 60D has an APS-C sensor. If I used a Canon 5D Mk III, which has a larger sensor, I would get a narrower depth of field at the same aperture.
We'll ignore the image sensor size. Most of the time, we shoot with a single camera, so the sensor size is fixed.

I shot this portrait standing quite close. Camera settings were 1/400s,  f8, 75 mm, ISO 200. Shooting close up at f8 allowed me to blur the background while keeping my subject in focus.
The portrait above is taken outdoors. To get the blurred background, I went in close, and shot at f8, which means the hole in the lens through which light travels, is fairly large. A large hole means a lot of light gets through, which means you can have short exposure times, and it also means a shallow depth of field.

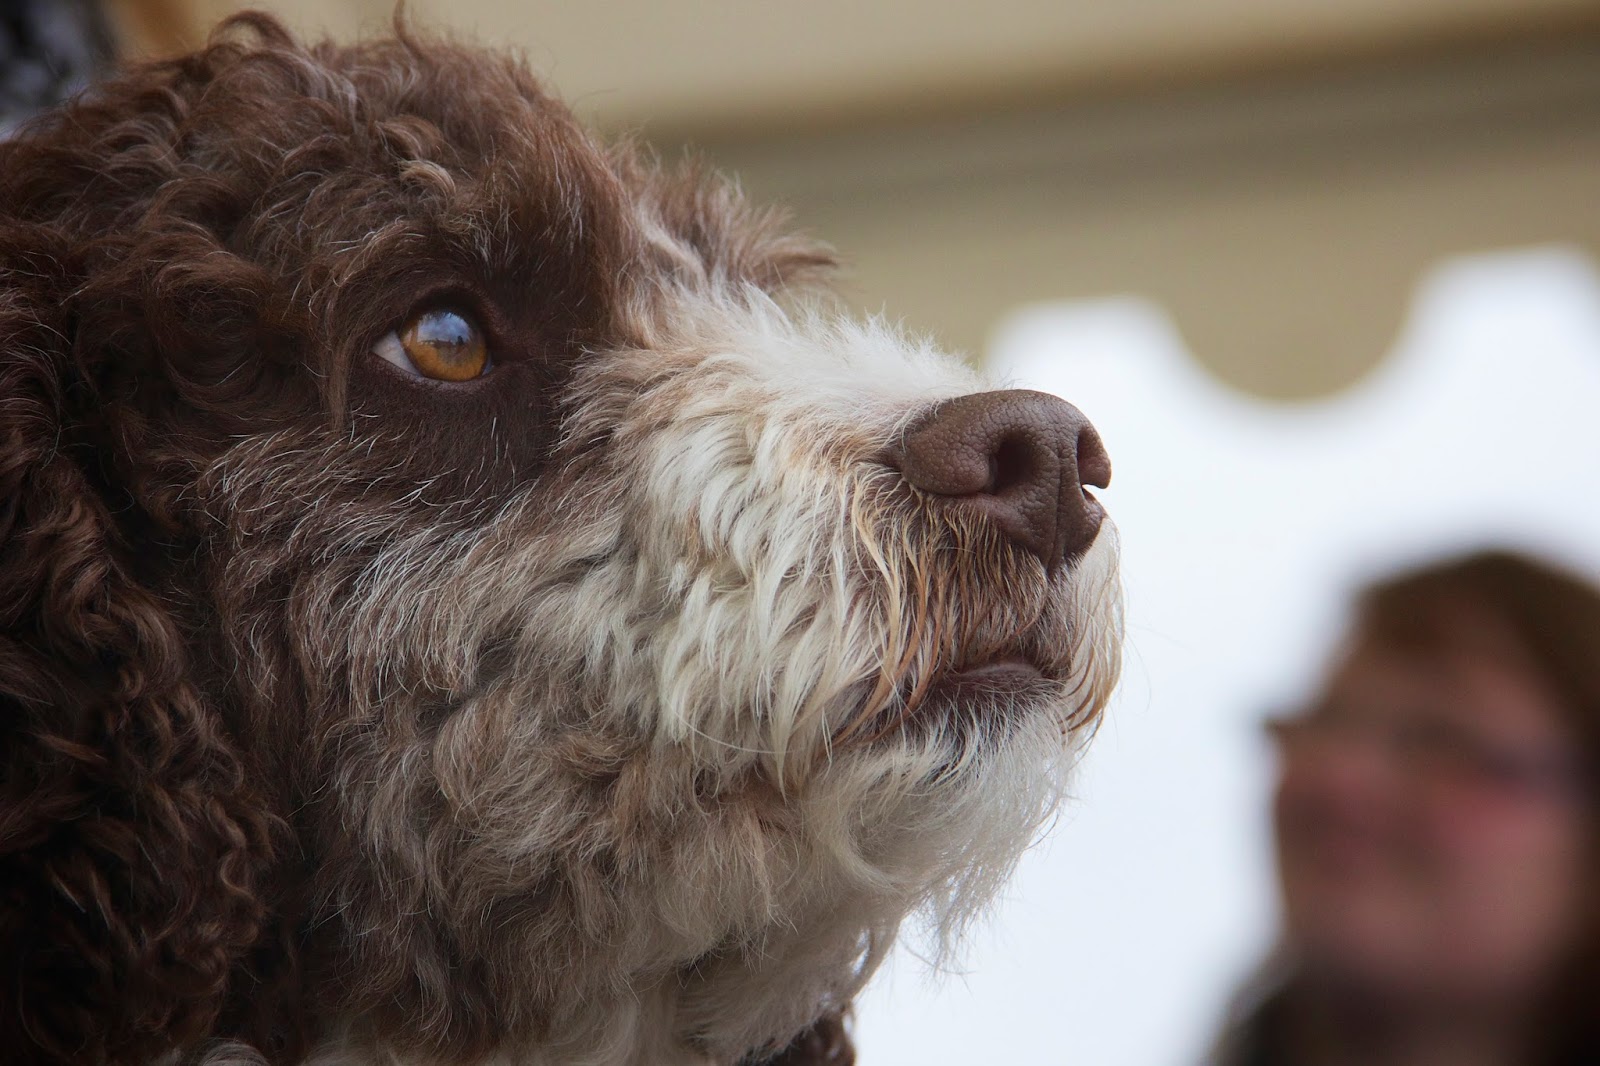
Depth of field can bite you. Most dogs have snouts that make give their faces a lot of depth. The following dog portrait was shot at f7.1.


As you can see, the eyes are sharp, but the nose is blurred. There are five simple ways I could have gotten the whole face into focus:

  • I could have changed the aperture. If I had shot at f11, I probably would have gotten the entire face in focus.
  • I could have changed the focal length of the lens. I was using a zoom lens at 135 mm. If I had shot at 85 mm, I would have gotten a better shot.
  • I could have backed off a bit, increasing the distance between me and the dog.
  • I could have shot the head in profile instead of straight on.
  • I could shoot a dog with a shorter snout. (But less wonderful eyes.)

Here is an example of a dog shot with the same aperture, 7.1, but at a slightly greater distance, and with the head turned a bit:


Dog sharp, dog owner out of focus, just as intended.

Photographers sometimes talk a bit scornfully about "people who shoot everything at f11". The reason why people do shoot at f11, is that it, in many cases, is a good compromise: Good depth of field, and also enough light to allow decent shutter times.


The racing track above is shot at f11. Because there is some distance to the foreground fence, and because of the aperture, the entire racing track is in focus.

To shoot individual cars, you need fast shutter times, and you can get that by sacrificing a bit of depth of field.


The car was shot at 1/1000s. To do that, I had to go to f6.3. Good enough for the car, but you can see that the sign in the background is slightly blurred.

If you are doing macro photography, you will have extremely shallow depths of field. This can be a problem. For example, if you are shooting insects, part of the insect may be unintentionally blurry.

I usually want the largest depth of field I can get when doing macro shots. That means I want to shoot around f22. However, that give me very long exposure times. This is a pain, because even very small air movements can turn small details into blurry messes.

Fortunately, you can get sharp macro shots if you use a flash.

Potted plant shot at f22. For macro photography, I want a wide depth of field. The shutter time is 1/160, but that does not matter much, because I used a flash to freeze movement. Even very small vibrations will cause problems when you are photographing small things. Using a flash will fix the problem, and give you nice, dramatic shadows.
A flash provides enough light to use a reasonable shutter time. Even better: A flash flashes very quickly. This means a flash can act as a super fast shutter, which eliminates the movement-from-air-current problem.

One thing though: You can't use a flash on the camera. You need to get it off the camera, and put it very close to the object you are photographing.

For this kind of photography, you need to work in manual mode, and experiment with aperture and shutter time, until you find combinations that work.

Finally: the only thing that will make you better at using depth of field in creative ways, is practice. Use a guide like this one to get a general idea of how to do what you want, then practice until you manage to do it. I study the metadata of the photos I take, to correlate what I see in the picture with the camera settings I used. You can see the metadata if you have programs like Aperture, Lightroom, The Gimp, or similar.