
Monday, 11 November 2013

Superheroes and monsters
 |
| A moment of solitude and focus before the party. This is my favorite shot from the evening. |
I shot at the Superhero Halloween party organized by Superheroes against cancer last weekend. It was a fun shoot. When you shoot at an event you have little control, but you can still plan and prepare.
I showed up early, about half an hour before the event, to check out lighting and talk a with the lighting people. I took some test shots, and experimented a bit with the ambient lighting. I had a couple of ideas I wanted to try out:
- I knew I would need flash, but I did not want to knock out the ambient lighting. My idea was to use relatively long shutter times and large apertures (small aperture numbers) to let in as much light as possible in the camera. By putting the flash on 2nd curtain, I figured I'd be able to freeze foreground subjects with a relatively weak (underexposed by 0.7 to 2.3 stops, depening on the distance to the subject) flash.
- Halloween and superpowers, so I wanted to shoot ghosts and supers moving at super speed. I knew I could do that by dragging the shutter. That means I used extremely long shutter times, often between 0.5s and a full second. I made sure to take a number of shots at shorter shutter times too, to get a number of more normal pictures.
It turned out pretty well. Everyone had a blast at the event, and I got some pretty good event photos.
 |
| Superman moving in on Lois Lane using super speed. |
 |
| Bloody Mary, anyone? |
 |
| This guy stayed in costume all night. That is, I do hope he was in costume... |
 |
| Cat woman attacked by ghost. Will she make it? |
 |
| Hockey, anyone? |
 |
| Join me for a drink? |
 |
| These people kick ass! |
 |
| It was a target rich environment! |
 |
| Medic! Wait, no, another medic...please! |
 |
| Fortunately, Cat woman survived the ghost attack. |
 |
| Dead girl dancing. |

 |
| Are you afraid? You will be... |
 |
| I was photographing this beautiful woman, when suddenly, a vampire materialized and attacked. |
Wednesday, 6 November 2013
We are armed and have no sense of humor!

When I saw these two mannequins I was reminded of a quote from The Core:
FBI Agent: Dr. Keyes, your presence is required in the Pentagon.
Dr. Josh Keyes: Aaah, it's my best buddies! Hey! Why don't you join us for a drink?
FBI Agent: We'd be grateful if you could join us - for a ride, sir.
Dr. Josh Keyes: And if I were to say no? I'm just asking.
FBI Agent: Well, we have no sense of humor.
Dr. Josh Keyes: That's true.
FBI Agent: And we're armed.
I tweaked the image a bit in post, of course: Turned it black and white, increased contrast and detail, sharpened it a bit. I also removed a reflection in the glass between me and the mannequins.
You can have quite a bit of fun shooting mannequins in shop windows. It is good practice, and mannequins do not complain if you experiment a bit, and botch something.

The act of walking around camera in hand forces you to be in the now. You can't walk around thinking of the past, or the future, you have to be there, or you won't get the shot.

The purpose of shop windows is to draw attention, so it should not be a surprise that you can find interesting things to shoot in them.
So, get out there and shoot!
Monday, 21 October 2013
Drink and Click in Gothenburg

Photo walks are a great way to meet other photographers and have some fun. Here are some pictures from a Drink and Click event in Gothenburg.

Set the shutter time to 0.3 seconds, steady the camera by holding it against a street light, wait until something fast moving comes along, and CLICK!
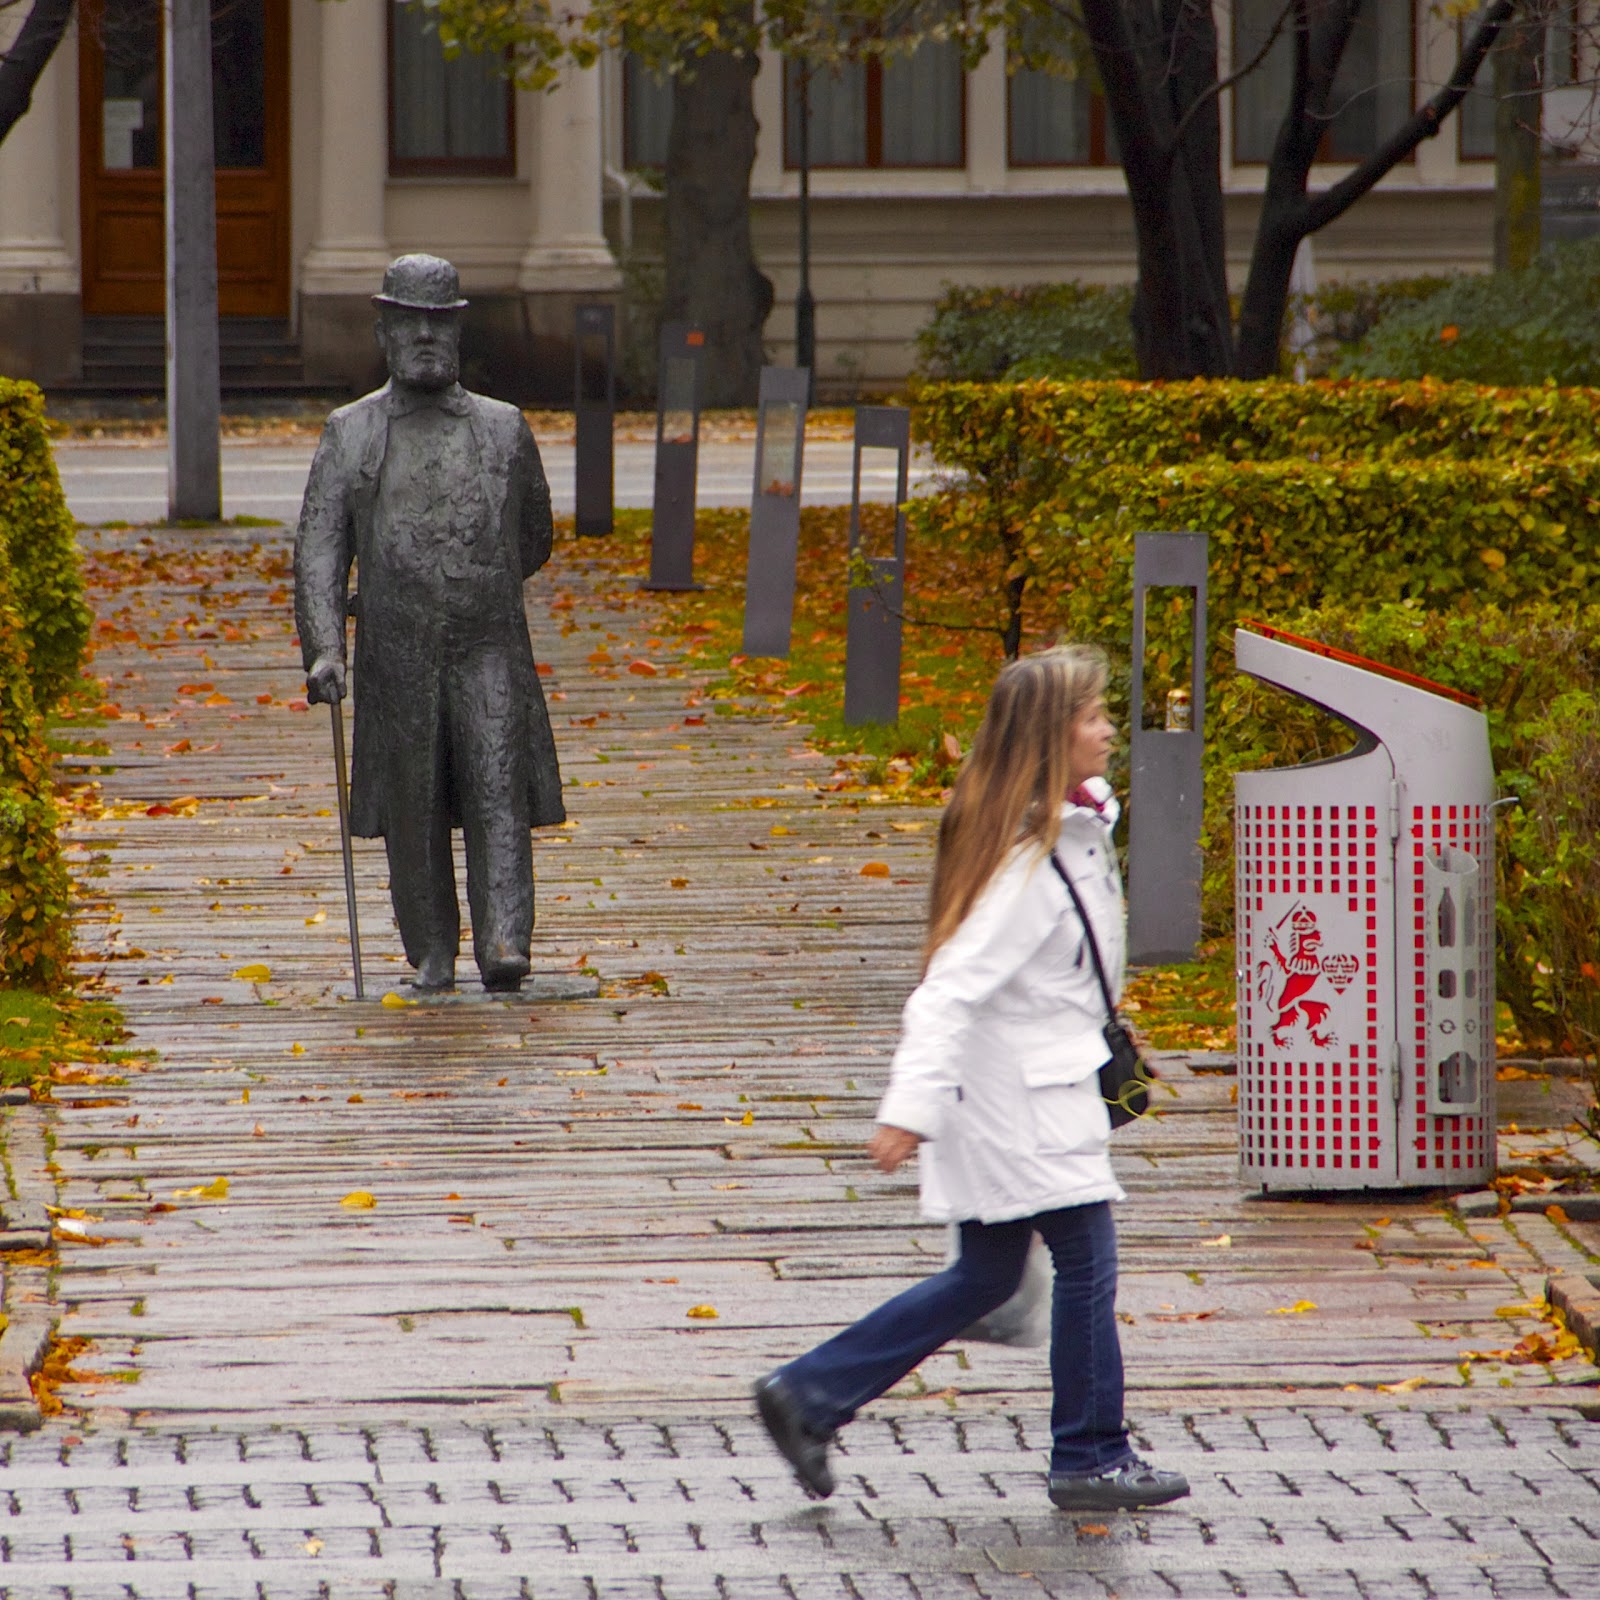
Two walkers.

Booh! Halloween is coming up.



Saturday, 19 October 2013
Maid and Tall Butler
 |
| Maid and a very tall butler |
I visited the maid café Project Dandy with four friends, who also happen to be photographers. Maid cafés are a type of cosplay cafés where guests are greeted by maids and butlers, and treated like masters and mistresses of Victorian homes. The goal of Project Dandy is to create the first maid café in Gothenburg.
Stay tuned! You just might hear a bit more about Project Dandy, maid cafés and cosplay if you do.
Sunday, 6 October 2013
How to turn a photo into a drawing with Pixelmator
 |
| My Hesser |
Here is a step-by-step description of how I created the picture above.

- Start by opening a good photo in Pixelmator. Your subject should be well lit, and the background as simple as possible. I used a photo of My Hesser, from a studio photo session awhile ago.
- Duplicate the photo layer. This way, you can easily go back to the original if you need to.
- Turn off the original layer, so it won't show.
- Select the layer you just duplicated. It would not do to work on the wrong layer. :-)
- Select the parts of the photo you want to turn into a drawing. It is usually a good idea to use Edit->Refine Selection... to fine tune the selection.
- Invert the selection, so that the parts you want to use are protected from editing.
- Use the Eraser tool to erase everything that is not protected. This will leave you with a transparent background.
- Desaturate the photo. Pixelmator has a filter for this.
- Duplicate the layer with the desaturated photo.
- Invert the layer you just created. Yep, there is a filter for this too.
- Change the blend mode of the inverted layer to Color Dodge. The photo should go white. Don't worry, we'll bring the picture back in a moment.
- Use the Gaussian Blur filter on the inverted layer. The radius should be about 45 pixels. Now you should see the picture, looking like a drawing.
- Group the two top layers.
- Duplicate the group. This is just so you can go back to an earlier stage if necessary.
- Merge the group.
- Apply a Level filter to get look you want.
Done!
Saturday, 28 September 2013
The OODA loop: Shooting like a fighter pilot
 |
| The final version of the image, after several iterations through the OODA decision loop |
I created the image above using the OODA loop, a decision model originally created to help fighter pilots make better decisions in combat. The OODA loop can help you become a better photographer, the same way it has helped me.
The OODA loop was originally created by U.S. Air force Colonel John Boyd. Boyd, known as 40 Second Boyd, had a standing bet to down any opponent in 40 seconds or less. He never lost.
Later in life, Boyd became known as a master strategist. The OODA loop was incorporated in his strategic framework, Maneuver Conflict. From there, the OODA loop, often in a hopelessly distorted form, spread to business strategy. Bill Dettmer wrote a business strategy book about it, and that is where I found it, several years ago.

I won't go into the details of the OODA loop here. I have written a book about it (Tempo!, available in Swedish only), blogged about it, and made videos about it.

I won't go into the details of the OODA loop here. I have written a book about it (Tempo!, available in Swedish only), blogged about it, and made videos about it.
What I will do here is show how I applied it to identify an opportunity, and turn it into a good photo.
I was just about to cross a bridge when I saw two or three people climbing up the banks of a frozen canal. Nearby them, something glinted on the ice.
This was my first iteration through the OODA loop: I observed movement in a location where my orientation process told me there normally is none. I decided to have a closer look, and acted by simply raising my camera and looking through the lens. I could see there was a chair on the ice.
 |
| My original chair photo. Butt ugly, but with potential. At this point, there were far to many distracting elements for this to be an interesting picture. Still, with a bit of cropping and dean-up... |
There was enough potential there for me to walk to the other side of the canal, and get as close as I could. When I was in the best position I could find, I took several shots. The one you see above was the best. Not too inspiring, but it had potential.

One more round of observing, orienting myself using basic rules of composition, deciding to crop, and acting on my decision. I had the picture you see above.
I observed that the photo still wasn't good enough. I wanted a cleaner photo with more contrast. I wasn't happy with the angle of the line in the upper part of the picture, but I had decided not to risk my life by going out on the ice. I am glad I did.

Here is the image after cleaning up in Aperture. I have used Clone and Repair to remove a lot of garbage from the ice. I have also:
Increased Brightness
Increased Contrast to max
Increased Vibrancy slightly
Used Curves to increase contrast even further
Turned the picture black and white
Added a Vignette
This is what the picture looked like when I first published it. I knew it would be better if I straightened the line at the top of the picture, but frankly, I was too lazy to do it.

Recently, I needed the photo for a presentation, and decided I could not stand the sloping line, so I straightened it in Pixelmator. I could have used Morph Age Pro for more control, but decided Pixelmator did a good job of it.
Through out the process, the OODA loop was a valuable aid, not only to improve the picture, but to improve my orientation process, the way I think about the picture.
And that is how photographers can shoot like fighter pilots.
Subscribe to:
Posts (Atom)