Friday, 18 April 2014

Getting Creative at the Lerum Photo Club Spring Exhibition


At my Creative Photography presentation, I talked about creative thought processes, strange loops, conceptual spirals, and how they relate to photography.
I was at the Lerum Photo Club Spring Exhibition recently. It was especially exciting for me because I was there both as an exhibitor and as a presenter. I have friends in the club, but joined quite recently, so this was my first exhibition there.

How do you get the maximum in-your-face effect with a gun and a wide angle lens? The nice thing about a good exhibition is that you can try things out on the spot. Clint Eastwood could not do it better.
For me, exhibitions are more about ideas and people than about the actual photos. Don't get me wrong, I love looking at other people's photos, and there was some really good work exhibited. It's just that I am more interested in the future than the past. The photos I exhibit are finished work, and therefore less interesting to me than the stuff I am working on now, and the things I plan to work on in the future.


You can learn a lot by watching other people in action. This may look funny, but if you want to take panorama shots where  you shoot the inside of a room, it is a quick and useful way to position yourself between shots.


There were several presentations held at the exhibition. I held two. The first was about Horror Noir, an ongoing project I run in a photography group. The objective is to create a photo comic containing a horror story based on H. P. Lovecraft's Cthulhu cycle, and shot in film noir style.

We have shot about a third of the project so far. There are still many interesting challenges ahead...


My second presentation was about creative photography. I used the droste effect, the recursive picture-in-picture effect shown above as a metaphor for theories about creativity, like John Boyd's Conceptual Spiral and Douglas Hofstadter's Strange Loops. I also talked about how creativity requires both divergent and convergent thinking.

And, of course, I delved into the process itself, how it works, and the bias against creativity, why creativity often leads to alienation.

Not lightweight stuff, but something I think most creative people can relate to.


If you were at the exhibition, you might enjoy the little slideshow above. Both conventional photos, and some creative experiments.


Friday, 21 March 2014

Tutorial: Lipstick planet


Here is the recipe for making a photo like this:

  • Find something that rises above the horizon, like a tall building
  • Wait until there is a nice sundown. (Very cloudy in Gothenburg, where I live, so this can take 3-4 months, or more.)

This is the original panorama, made from eight separate photos.
  • Shoot a multi-picture panorama.I used eight photos. Hold the camera vertically. I used a 10mm super wide angle lens, but you can do it with a longer lens too. I shot on manual with autofocus turned off.
  • Straighten the horizons, do lens correction, enhance colors and reduce noice in a good post processing program. Straighten the horizons individually for each photo, but do everything else in a batch. I used DXO Optics Pro.
  • Stitch the photos together into a normal panorama. I used Hugin for this. Hugin is free software. The user interface is rather clunky, so do look at a tutorial or two before using it.
  • Make a planet. I used the polar mapping filter in The Gimp. The Gimp is also free software.
  • Fix minor glitches. I did this in Pixelmator. I could have done it in The Gimp, but I prefer Pixelmator's user interface. I exported several versions, with different backgrounds, and different color tweaking.
That's it! By far the hardest thing I did was finding a decent sunset. Those are few and far between here in Gothenburg.

Note that you do not need as many different programs as I used. You can do everything in The Gimp and Hugin, and they are both free.

Monday, 3 March 2014

Going blue: A cool white balance trick


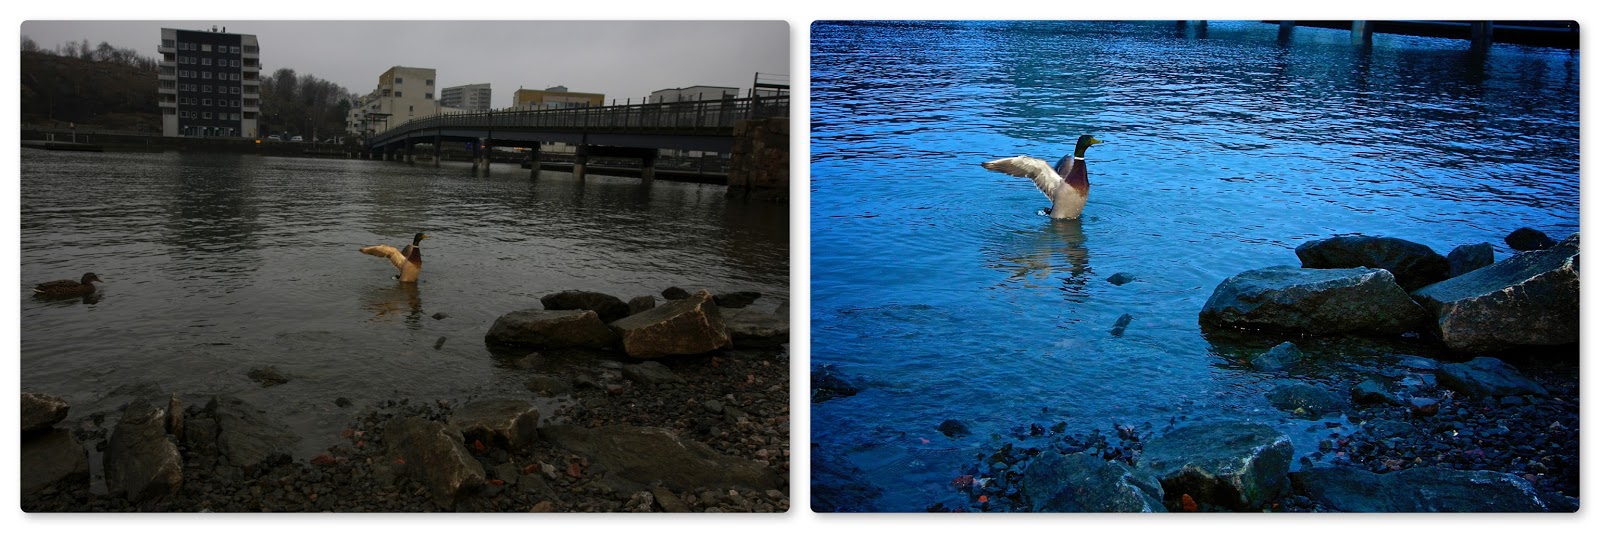
I got the shot above at a recent photowalk where we visited the East India Man Götheborg. I used a Sigma 10-20mm super wide angle zoom while on the ship, and I left it on for the rest of the walk.

Yes, I know, most people use slightly longer lenses for nature photography, but, as they say, the best lens is the one you have with you.

Click on the photos to see a larger side-by-side comparison

Because the original, unprocessed photo looks so different from the finished version, it might be interesting to have a closer look at how I did it.

Getting the shot

This was a photowalk, and I was by no means the one to discover the bird. There were a couple of people shooting it when I arrived. Everyone used sane lenses of course, and could photograph the bird without startling it.

I knew could not do that. I had to get a lot closer. I would almost certainly startle the bird, so I probably would not get more than one shot. On the other hand, if the bird raised its wings, it could be a fairly good shot.

Lucky for me, I had decided to shoot outdoors with a hotshoe flash, and I had put a full CTO (Color Temperature Orange) gel on. Gothenburg can be incredibly gray, and I wanted to warm my photos up quite a bit.

I waited until the other photographers had gotten their shots (at least I want to believe I did...), zoomed my lens out to an awsome 20mm, and then slowly walked towards the bird. I had my camera in one hand, and my flash, on maximum power, in the other.

It worked perfectly. The duck started flapping its wings, and I took the shot. As you can see in the original, unprocessed version, the flash colored the bird orange, but did not do much with the drab, gray surroundings.

Post processing: Bringing the color out

I shoot in RAW format most of the time. This has several advantages. One of them is that I can change the white balance after I have taken the shot.

I imported the photo into Aperture. The first thing I did was changing the white balance. I set the White Balance adjustment to Natural Gray, and clicked an orange part of the wing.

Bang! The photo changed color dramatically. Suddenly, the water was blue.

Looks like magic, but it is not. I colored the bird wing orange with my CTO gelled flash. Orange is a combination of red and yellow.

What I told Aperture to do when I clicked on the wing was to make the orange wing gray. How can Aperture do that? By reducing the red and yellow to the same level as the blue component.

What happens in the gray parts of the photo? Well, the red and yellow get reduced there too. What's left when you remove a lot of red and yellow? A lot of blue is left.

Hence: Blue water with normally colored duck.

I did some minor fixes, like removing a bit of residual orange from the wing, and making the beak a bit more orange by painting it with a saturation brush. I also added a vignette, increased overall Saturation and Vibrancy, and sharpened the photo a bit.

Not to forget, I cropped it as heavily as I dared, to bring the duck a bit closer. As you can see, I followed the rule of thirds convention.

I did more small lighting tricks during the photo walk. I'll write about them in forthcoming posts.

Sunday, 2 March 2014

A different kind of photo walk: Aboard the East Indiaman Götheborg

Three sailors. Bottom left, first mate August Jansson, at the top, Woody Wiest, and right, Madléne Hjelmroth.
I was on a different kind of photowalk in Gothenburg. I was lucky to be one of ten photographers allowed on board the Swedish Ship Götheborg.

Götheborg is a replica of the 18th century Swedish East India Man with the same name. The original ship sank near its home harbor in Gothenburg in 1745. Check out the Wikipedia page if you want more facts about the ship.

Peter Sandin, Madléne Hjelmroth, and Daniel Sjöström created the A Different Kind of Photowalk group, and this was the first event.

On deck. Götheborg sails with a crew of about 80 people. The original sailed with about 130. Travelling was high risk, so the ships had to have extra crew on board.
I used a Sigma 10-2mm lens for all the shots in this post. This is a great lens for shooting in confined spaces. It's also great for shooting the deck of a sailing ship. I knew I would not be let up in the rig, at least not this time around, so I brought a monopod for hoisting my camera up into a higher position, which made for more interesting photos of the deck.

If you get an opportunity to shoot on Götheborg, which you may, since she is travelling all over the world, shoot details. There is so much interesting stuff aboard you could spend weeks there with a camera.

I shot the ships wheel through a skylight. I dried some water drops off, and then held the lens very close to a glass pane in the skylight.

The gun deck
The gun deck was interesting. It was also very dark, so I lit it with two remote triggered flashes. I had full CTO gels on to match the color and tone of the light inside.

This little tableau was interesting. Beautifully done. Also a reminder that lunch time was drawing closer...


The cannon shot was interesting. I wanted the cannon to pop out from the background, so I put a flash in front of it, i.e. on the side closest to the gun port, and aimed it against the wall. I held a second flash above my head, and aimed it down.

I then took a few shots, varying the strength of the flash in my hand, to get a good balance between the two light sources.

Of course there are some modern amenities on the ship, like this sewing machine.


Woodie Wiest, our guide, took us to see the workshop on the pier.


Tools and stuff everywhere. Very neat and orderly, at least compared to a photo shoot...


After the tour, Madléne, who is one of the photowalk organizers, gave Woody some very well deserved tickets to the Opera.

The last shot of Götheborg...for now.
After the tour the lucky ten joined up with the rest of the photographers who would go on the walk at a café. While most of the others had coffee, I had an incredibly large pizza.

The rest of the photowalk was great too. I'll post more about it, and show off some very nice pictures.

A very large Thank You! to Woodie Wiest, Peter Sandin, Madléne Hjelmroth, and Daniel Sjöström, who made it possible to shoot on the Götheborg!

Also a big Thank You to everyone else who had joined the walk, and made it a memorable and fun experience.

Wednesday, 26 February 2014

At the Soulstore: A one light setup for shooting a store

Mattias at the Soulstore. Note how Mattias is lit by a remote triggered flash, while most of the store is lit mainly by ambient light.
I have shopped props and other things for the Horror Noir project from the Soulstore in Gothenburg. When I was there today, I asked Mattias, the proprietor, if I could take a photo for our behind-the-scenes photo comic.

I wanted to light Mattias, so attention would be drawn to him in the photo. I placed a single hotshoe flash behind one of the books in the pile on the right side of the picture. I put a 1/2 CTO gel on it and zoomed it to 105mm to narrow down the beam of light.

Shooting a store is a job for a wide angle lens, of course, so I used the Sigma 10-20mm at 10mm. I mounted the camera on a monopod, set the self-timer, and hoisted it high in the air.

I took a couple of shots without triggering the flash, to set the ambient light level. Then I turned the flash remote trigger on, and took the shot. I took a couple of more shots with slightly different settings to be on the safe side, but I liked the first shot best.

I did the post processing in Aperture. This included some cropping, because I wanted to zoom in on Mattias a bit.

Two days with the Sigma 10-20mm f/3.5 EX DC HSM super wide angle zoom lens

Test subject one: My son playing Club Penguin. He is not sad, just focused on the game, and a little bit annoyed with me removing framed photos from the wall, clearing off the table, and moving the computer to get just the right angle. The wide angle lens distorts perspective, creating the illusion of an enormous computer and a rather small boy.
 I bought a Sigma 10-20mm f/3.5 lens recently, and decided to spend a a couple of days getting acquainted with it. It turned put to be quite an adventure. I learned quite a bit. The very first thing I learned:
Do not wear a hat while shooting with a super wide angle lens!
If you wear a hat while taking a shot like this, your hat will fall off.
Working with a 10mm lens is a lot different from working with a 30mm or longer lens. With a longer lens, you usually want straight lines to be straight. With a super wide angle, the whole point is to have a lens that can distort perspective. To do this, you will need to tilt the camera up or down while shooting. If you tilt the camera up, for example while shooting a tall building, your hat will fall off!

Extreme angles – high or low, and strong leading lines are important when using a super wide angle lens.
The first day I did not really have time to do much testing. Work and playing with my son had priority.

The day after, I decided to take a long photo walk, and put the lens to the test.

High angle, with a slight downwards tilt – you can make even dull, ordinary things look interesting by distorting the perspective. I got the shot by putting the camera on a monopod and raising it as high as I could.
My first stop was at the Gardening Association in Gothenburg. No flowers to shoot there this time of year, but there are other things, like this lift.

When I bought the lens, I also bought an important accessory: A monopod!

Why on Earth would I want a monopod for a wide angle lens? Aren't monopods for tele lenses? Well, yes, but I did not buy the monopod to reduce camera shake. I bought it to extend my reach, so I can shoot from interesting angles.

I shot the lift by putting the camera on the monopod, so I could lift the camera high in the air. My Canon 60D has an LCD screen that can be angled, so I see what the camera is pointing at, even when it is two meters above my head. (I bought the 60D because the LCD screen makes it eminently useful for trick shots of various kinds.)

I used the self-timer on the camera, and focused manually. Autofocus does not work well when the camera is wobbling on a long pole.

Here is a thoroughly conventional wide angle shot.
 There is a spot in the park where you can see two buildings with reflections in the water, if the day is calm. Well, I was lucky. It wasn't windy, and thanks to the wide angle lens, I could get both buildings and the reflections in a single shot.

This is a thoroughly conventional shot, but there are still some things to take note of. In particular, take care with the edges of your shot. There are trees in the park, and some of them have rather long branches. I had to compose the shot carefully to avoid branches poking in at the edges.


When I had left the park I saw some divers in the canal. It turned out to be the Gårda Fire Department that was out practicing.


With a 10-20mm lens you need to get close, so I simply asked if it was ok to shoot while they were practicing. It was. I got some nice shots.

I made a mistake though. I should have lain down flat on the ground and shot slightly upwards, to get a more interesting angle for the shot of the diver.

Well, the next time I shoot a diver, I know what to do.

I met an interesting character while visiting the Science-Fiction Bookstore.
In this shot, you can see the difference it makes when you shoot from a low angle and tilt the camera up.

In Sweden, there is a yearly book sale that is quite an event. Lots of people who don't normally read books rush out and buy them, in order to not read them.

I usually do not participate in the frenzy, because I am stocked with books that I do read all year round. However, you can sometimes find a gem or two at the sale, so I sometimes do visit a bookstore or two.

I got the alien shot at the Science-Fiction Bookstore. My favorite bookstore in Gothenburg.

I went to Domkyrkan, the largest church in Gothenburg, to take panorama shots. The plan fell through because of the church is undergoing quite extensive restauration.

I settled for a less exiting shot of a candle, and decided to save the panorama shots for another day, and another blog post.

My son was happy to see me when I turned up at his school.
A basic rule of child photography says never, ever, shoot downwards! In most cases, it's a good rule. If you shoot downwards, you will shoot at the same angle you normally see children, and you will get boring shots.

However, with a wide angle lens, you can break the rule with good results. The perspective distortion lends interest to the shot. Even more important, if you can catch a great expression like the one my son has in this shot, you can get away with almost anything.


If you want to go a bit artsy, and focus on form, a wide angle lens is great. The most difficult part was keeping my own feet out of the picture. I used a filter built into my camera to turn the photo black and white.

The public library in Partille
One more example of going high and tilting down to distort lines and lending visual interest to a photo.


In the evening, I went to a meeting with the Lerum photography club. I took this shot on my way to the train. The lens makes the bridge look a lot longer than it really is.

When I got to the meeting, I took a shot of the building before going in. I placed the camera at ground level, and tilted it a bit. 
The 10-20mm range is more versatile than you might think. At 10mm I can cover most of a large room in a single shot. At 20mm I can get a fairly close shot without standing nose-to-nose with my subject.
The shots from the meeting are interesting only if you were at the meeting, so I'll be brief. After two days of thoroughly enjoyable testing, I am quite smitten with the lens. I like it a lot, and I know I can get great shots with it.

You might be interested to know that I lit the photos in the collage with a single Nissin Di866 Mk II flash. Thanks to the white walls, that was all the light that was needed.

Sigma has two 10-20mm lenses. The one I bought is the f/3.5 version, which is slightly more expensive than the other f/4-f/5.6 variable aperture version. In my opinion, getting the f/3.5 lens is worth it. I know I will be shooting indoors in less than ideal lighting conditions, so I need that extra bit of light sensitivity.

After two days, I have just begun to put the lens through its paces, so I have more fun testing to do in the near future.

Thursday, 6 February 2014

Six things you should not post in photo groups

I am a member of a photography group that recently banned all photos of dogs, ducks, hamsters, geese, and a couple of other animals. The reason was not a sudden hostility towards pets per sé, but the group had been flooded by bad animal photos. 

The group admin had, several times, tried to encourage members to think before posting, and only post their very best photos. It did not work. The people who posted really bad photos seemed unable to distinguish between high quality and cr*p. This phenomenon is fairly common, its most extreme form is called The Anosognosic's Dilemma. (An anosognosic is a person who, due to a lack of self awareness, is completely unable to judge her own level of competence. We all suffer from milder forms of agnosognosia. The effects can become very visible in photography groups.)

While most of us are not full blown anosognosics, I think most of us photography enthusiasts have slipped and posted shots we should not have.

Sometimes, it is because the shot is bad, sometimes it is best to refrain from posting even a good shot, because the subject matter has been done to death.

Here are six things you should think at least three times about before posting. It also happens to be six photographic sins I myself have committed:

Pets
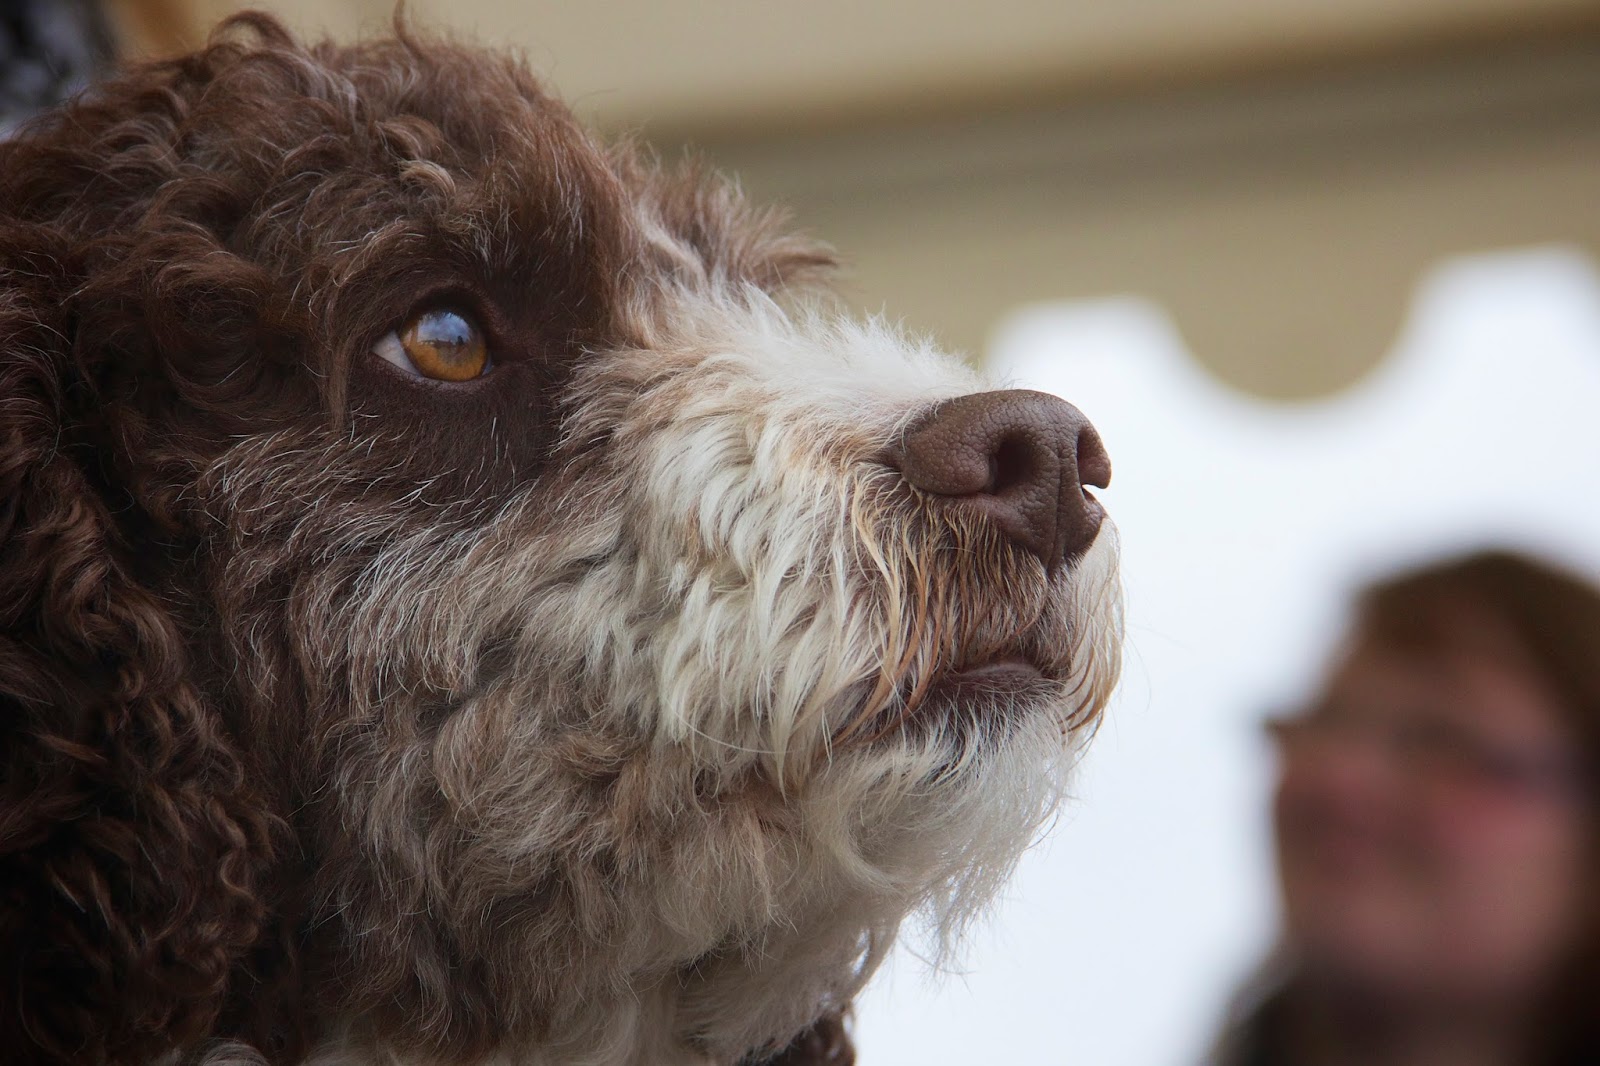
Think twice, or thrice, before posting even a good shot of a dog. You may like it, the pet owner will love it, but to most other people it simply is not interesting. 
Dogs, cats, rabbits, horses, etc., are cute, and that is the reason why photos of them have been done to death. The downside is that interesting pet photos are almost as rare as hair on an egg.

A photo of a dog may be very appealing to the dog owner, people who know the dog, and to the photographer. I like the photo above. The dog was very nice and friendly, I like the soulful expression, and the composition.

Still, it is a very common kind of photo. While I would not hesitate to post it in the Dogs group on Google+, I would not post it in a high quality photography group, simply because it is not original enough. (Well, I actually did, but I have grown wiser since then. Maybe...)

I like animals, and my new web site (, which is'nt quite ready for publication yet,) even has a pet section. I do photograph pets and other animals commercially, and for fun. However, that does not make it a good idea to post my animal photos in photography groups. Neither do I post them on 1x.com, the photo site where I post my favorite shots.

You might wonder what an original pet photo might look like. Well, you'd have to capture an animal doing something unusual, or an animal having an unusual feature.


A dog with sectoral heterochromia makes an interesting subject. Though the condition isn't all that unusual in dogs, it does bring interest to the shot.

If you want more examples of pet shots that are interesting, I have set up a small collection of photos on a Pinterest board. The photos are from 1x.com. Go there and search for your favorite animal if you want more.

Sunsets


Like so many others, I have watched a great sunset, and caught in the mood, brought out my camera and clicked away. The problem is that though the sunset looks great in real life, it is just not that interesting when caught in a photo.

A nice sunset can make a fantastic background for a great photo, but a sunset on its own is too common to be interesting. The story in a sunset photo is "the sun sets, again". That is an old story. You have to add something else to make it worth looking at.


One of the simplest things you can do ist to shoot a silhouette in a sunset scene. In the photo above, I went one small step further, and used the reflection of the sunset in the water as the backdrop for the photo.

Landscapes
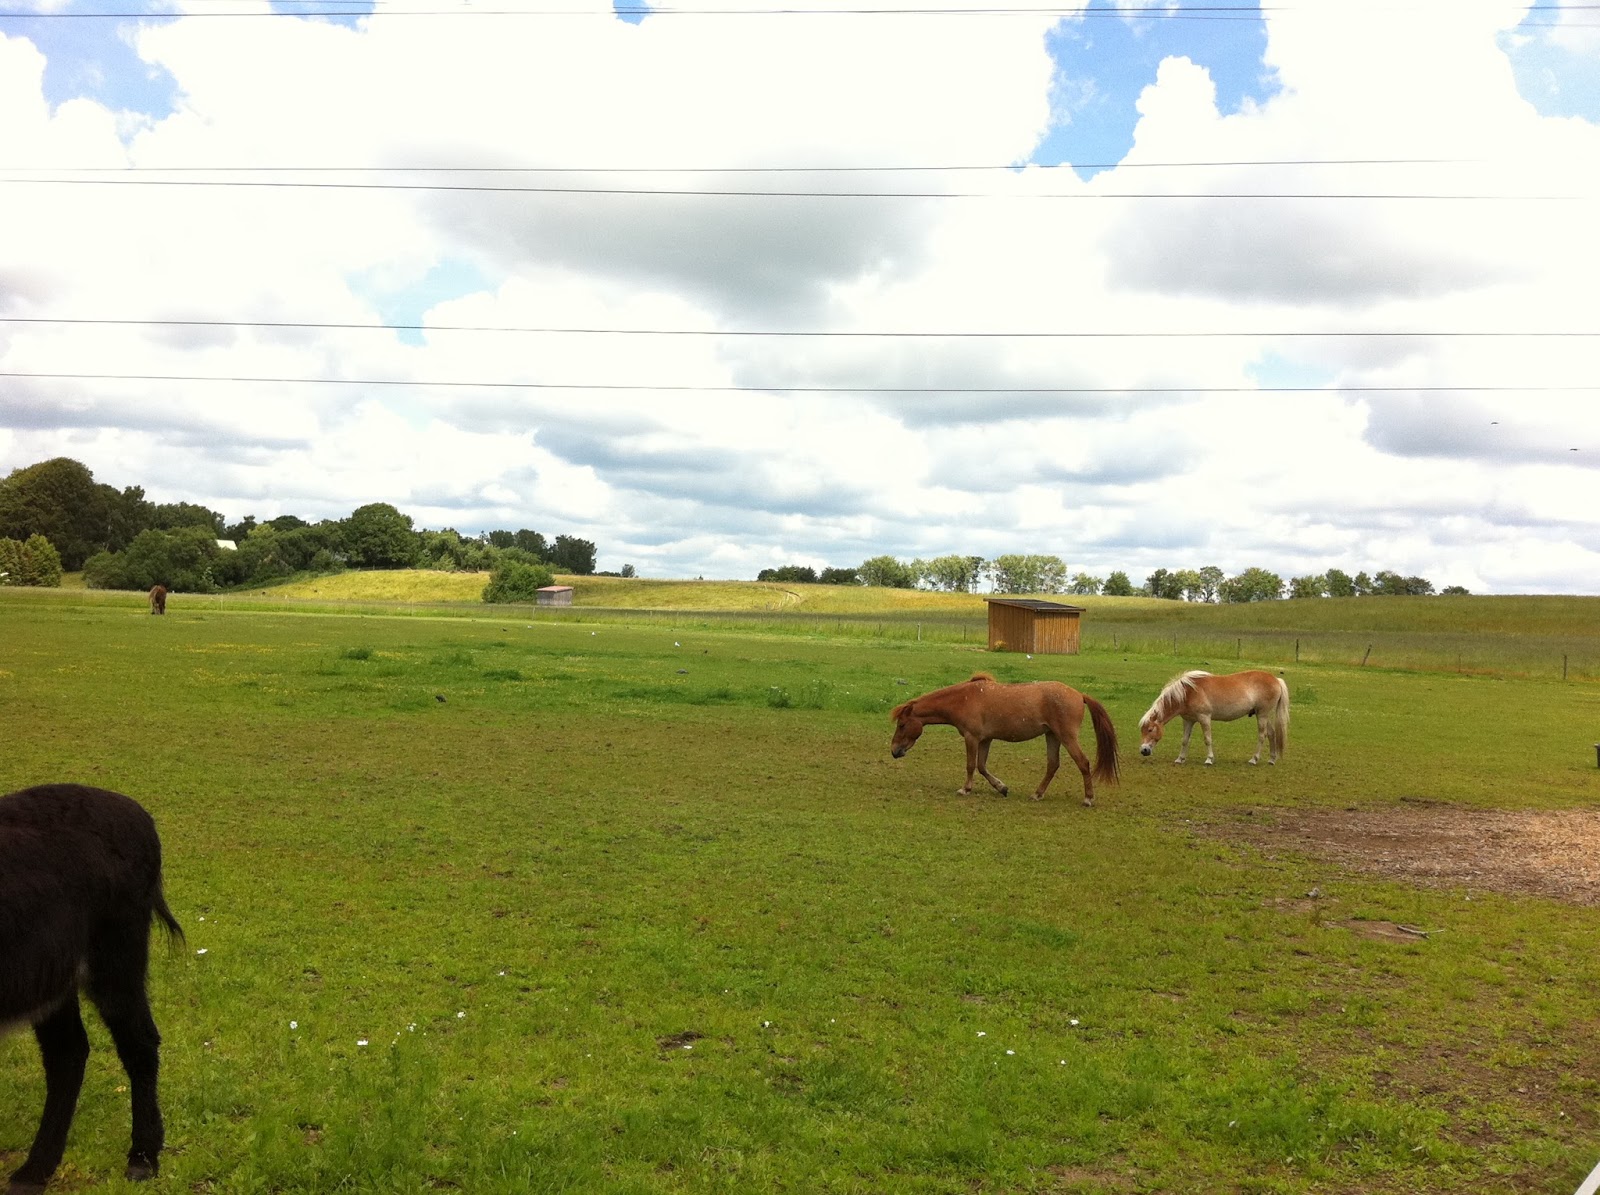
Lots of people will start nitpicking on the technical issues, like very poor composition, and blown out highlights, and miss the main problem: It is a boring photograph. There is no interesting story in it.
Well, what can I say? Even worse than the awful, walk-up-shot composition of this picture, is the fact that there is nothing interesting there. Horses are nice, but these ones are not doing anything interesting.

This is a horrible shot from a technical point of view, with the horse's ass at the left edge, the blown out clouds, and the horizon in the middle of the photograph.

Where lots of people get it wrong, is that they start picking up on such details, and discuss how to correct them, when the real problem is that the scene is boring.

I remember the day I took this shot, and it was a great day. I visited a farm with my son and my mother, and we had great fun. I was also, at the time, completely unfettered by good taste in photography, and had no skill whatsoever.

I have kept the photo to remind me of that great day, but, except in an article such as this, it should not be inflicted on people who have done me no harm. They deserve better.

Family

A cringeworthy photo can be great fun for you and your family, but everyone else will just...cringe.
I love my family photos. My family also loves family photos. Only a couple of days ago, my ex-wife (who is a close friend) and I sat down, collected the best photos of our son from last year, and made a photo calendar. Don't worry, the photo above was not included!

My son and I had a lot of fun when we took the shot above, using the camera in my laptop. I love the photo because of the feeling and the memory, but the photo in itself is not good.

Flowers
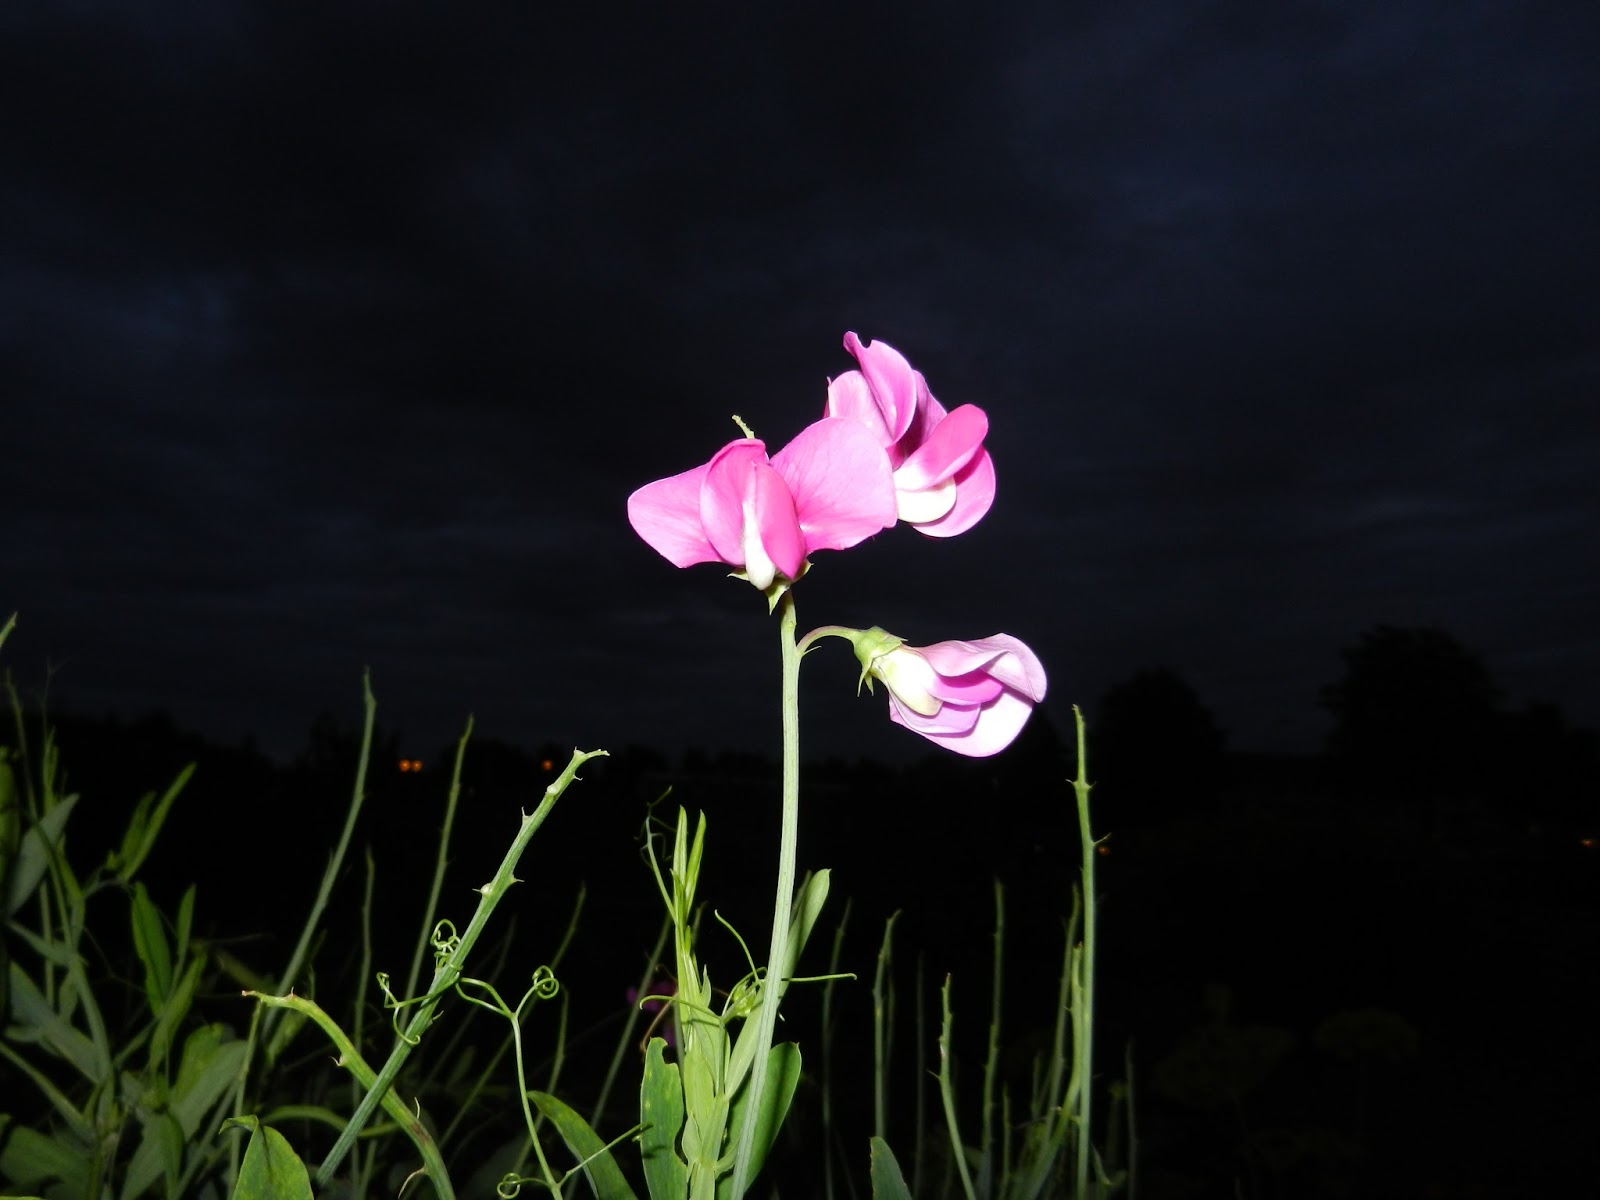
Don't do this! Just don't. Oh the photographic sins I have committed. Perhaps the worst thing is that when I took this photo, I decided to keep it. The reason I keep it now, is that I want to keep a record showing my progress from truly awful to...well, at least not this awful.
Flowers are great for practicing photography. They never refuse to have their picture taken. They don't walk away while you fiddle with camera settings, though they may wilt a bit if you take very long. And, flowers are beautiful.

So, taking a lot of flower photos is a good idea, it is great practice. Just don't post them...


Of course there are flower shots worth posting, but they are fairly rare, and they often require a bit of preparation.

Photos of beautiful flowers are so common that the beauty itself is not enough to warrant publishing a shot. Make your flower photo tell a story! Then you have something to publish.

To take the shot of the rose, I first dried the rose, I bought theatre blood, and set up the scene on my living room table. I put a white paper on the table, and carefully overexposed the shot. In post, I blew out the background completely, desaturated my hand, darkened the blood, did some work on the rose, and presto: A picture that tells a story about love, roses, and death.

Food


Judging from photos I see on Facebook and Google+, it seems lots of people believe I am interested in what they are eating.

Believe me when I say, I am not! I do not even want to know what my close friends are eating. I am interested in food photography, but that is something completely different.

I have seen bad, completely unappealing food photos, even from very good photographers. It seems like there is no taste involved when people shoot their food.

If you want to shoot food, check out the food photos of Herminia Dosal first. If what you are eating does not look as good, by all means, shoot it for practice, but don't publish.

Shoot food that looks good. Be prepared to do a lot of post processing. With this photo, I increased saturation, removed pieces of leaves, and lots of crumbs on the black cloth.
If you decide to publish a food photo anyway, remember that it is not about what tastes good, but about what looks good!

This article was partially inspired by Are you still hunting for the shot, a blog post by Scott Kelby. Not all, but many, of the bad photos I see, and the ones I have taken myself, are "hunting for the shot" photos.

All photographers, even the best ones in the world, take bad photos. The great photographers do it much less often, but they still do. You rarely see those bad photos, because good photographers are very careful in selecting the photos they will show.

Most of us can improve our published photos a lot, just by being a bit more selective.

Now, I'm off to take much better shots than the ones in this article. I hope you will do likewise.